Showing posts with label Dessert. Show all posts

Thursday, June 16, 2016

I Made Crack

Let me introduce you to, Crack:
Probably, the most addicting things I've made in awhile. 
Almost as good as the Christmas Crack I make every year. 

The brown sugar shortbread crust adds moisture without having to use tons of butter. Pair that with sweetened condensed milk (yes, you read that correctly), chocolate, and toffee...well need I say more?

Preheat oven to 350 F
Line 9x13 pan with foil and coat with cooking spray

3/4 cup room temperature butter
3/4 cup light brown sugar, not packed
1 3/4 cups flour

1 14 ounce can sweetened condensed milk
2 T butter

2 cups chocolate chips
1 8 ounce bag of toffee bits

Beat butter and brown sugar for 3 minutes,
Add flour and combine.
Press mixture into prepared pan.
Bake for 15 - 20 minutes (shortbread should look golden)

Let cool for a bit.

In a saucepan, heat remaining butter and sweetened condensed milk until smooth.
Pour over shortbread crust and put in oven for another 15 minutes (should be bubbly and brown, like a light caramel).

Take out of oven and spread chocolate chips. Put back into oven for 2 minutes (or until chips are glistening). Take out of oven and spread the melted chocolate. Lastly, sprinkle toffee bits evenly and lightly press into chocolate.

Let cool completely before cutting into bars. I like to refrigerate the whole pan, then lift foil out and cut into bars. I also store my bars in the fridge too.
Adapted from Cookies & Cups

Monday, May 18, 2015

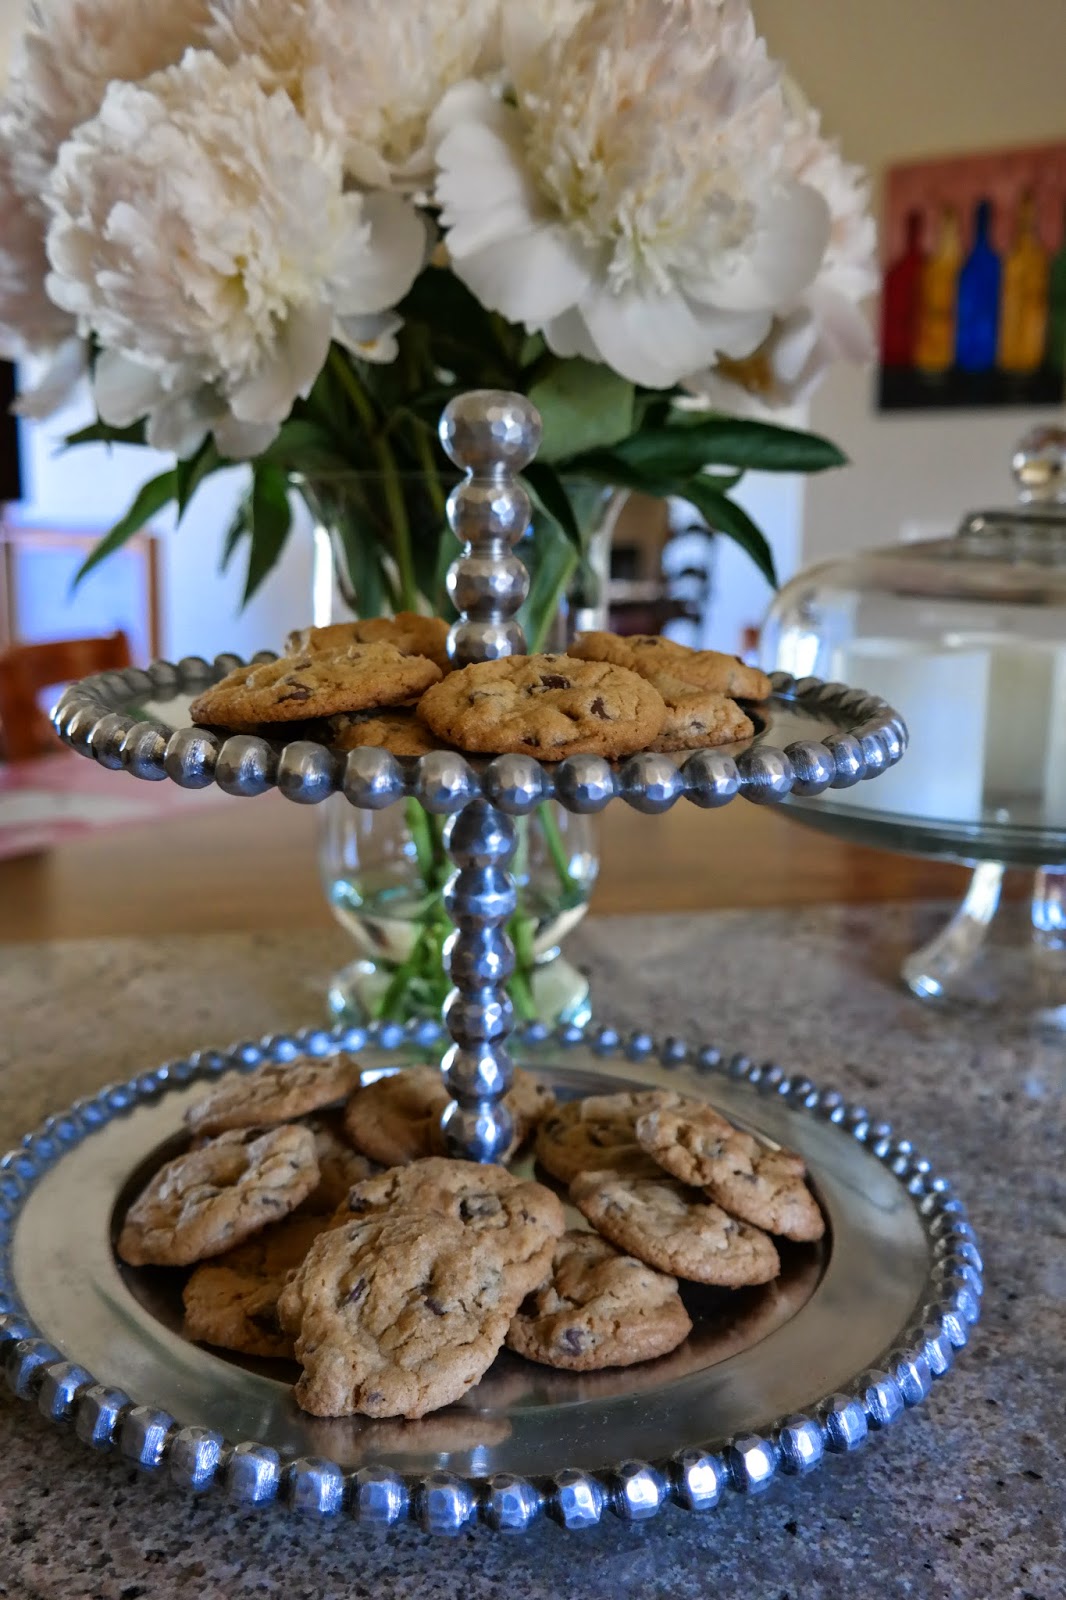
The BEST Chocolate Chip Cookie I've Ever Made

Happy Monday!
Oh don't you just roll your eyes when you see something titled, "The best..."? I totally do! I have been in the slumps with my chocolate chip cookie baking. Something hasn't been working with the recipes I have. Even my favorite Doubletree Cookies have fallen short. What was once nice puffy, yet crispy and chewy cookies have turned to crispy, chewy, but FLAT. Same recipe, same oven, same ingredients. What the?! And I tried all those tips on making cookies chewy or cakey or crispy or flat. No matter what...flat has been the outcome. Until today!

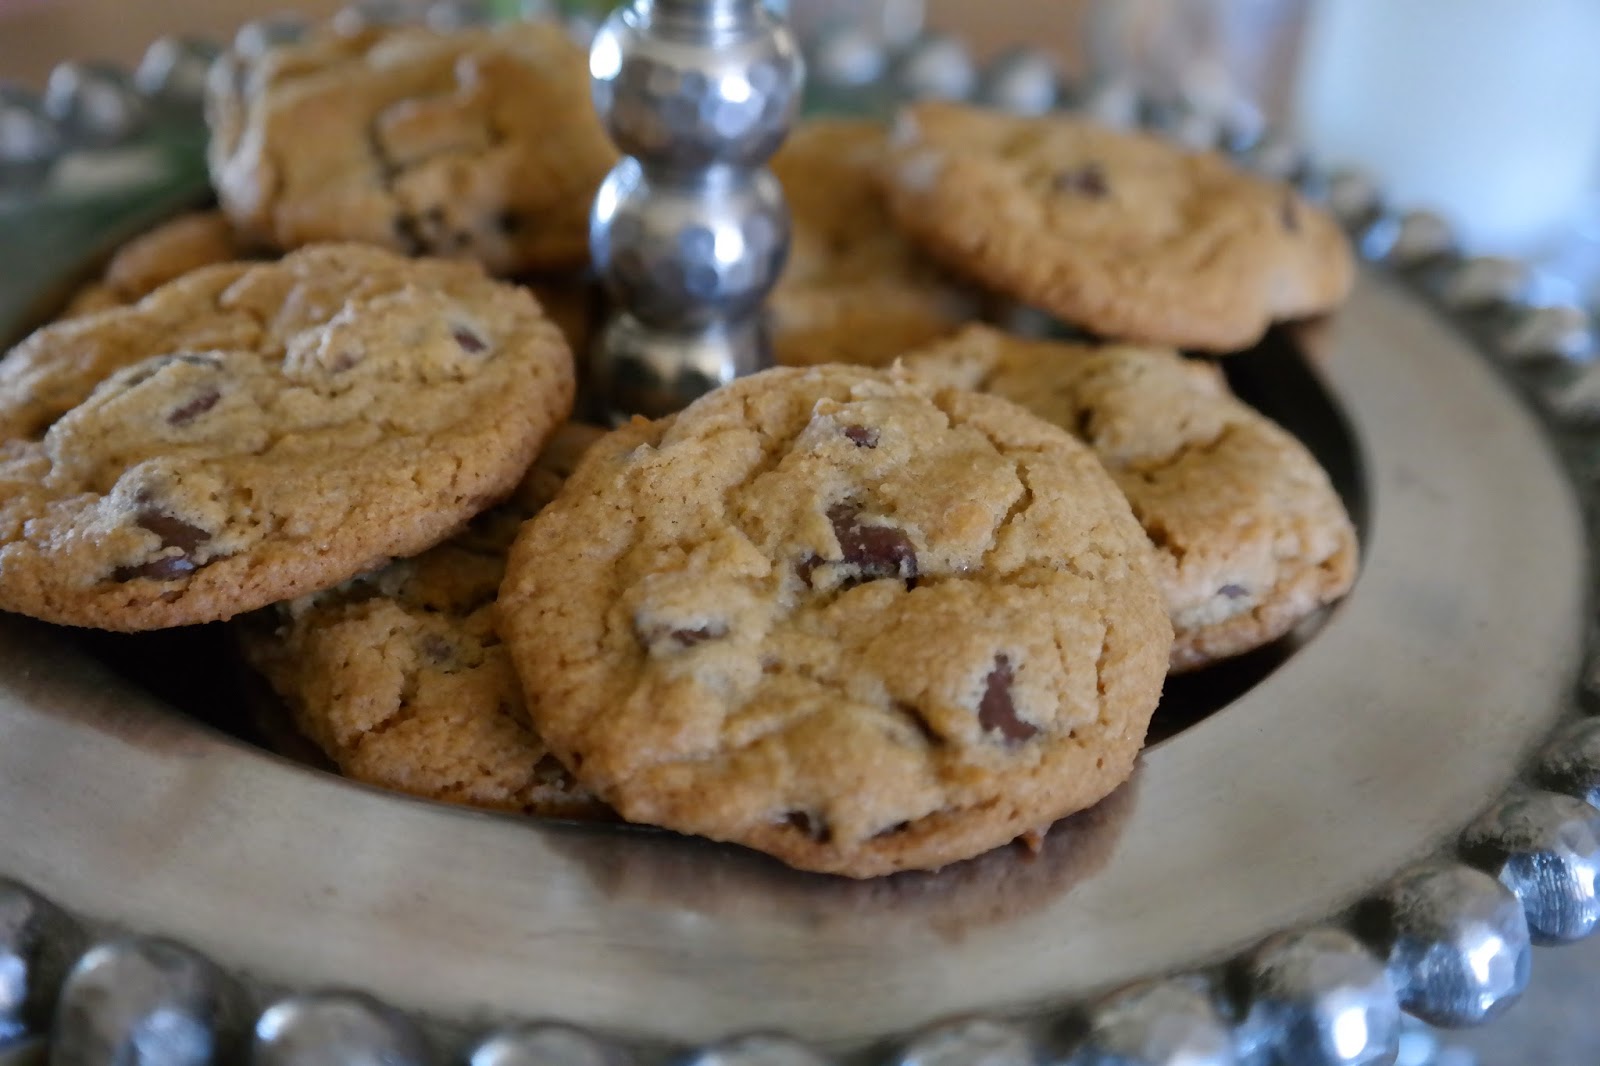
Hello layers. I've missed you.

You must try Alice Currah's recipe for THE BEST CHOCOLATE CHIP COOKIE EVER. She has a fabulous blog called Savory Sweet Life. So overjoyed to have found this recipe.

Like super happy.

Follow the recipe EXACTLY! Yes, beat the batter for 3 minutes. Yes, beat again for another 2 minutes after adding eggs and vanilla. Yes, you need to open that second bag of chocolate chips if you are using a 12 oz. bag. JUST DO IT.

And no, it's not a typo...preheat oven to 360 F.

No baking rack needed. Let cool on the parchment paper.
No, the cookies will not have soggy bottoms.

And to make sure this was the real deal recipe, I made all different sizes. And each cookie size I tried came out perfect. To me, a good recipe will accommodate any size with the same ingredients and temperature. 

Did I tell you how much I love the layers?

Chewy, crispy, and puffy!

Heaven.

PS This post was inspired by my youngest, for this is what she answered on her Mother's Day card to me...

 And just for a good laugh...


Monday, May 4, 2015

Teacher Appreciation Week & A Salty Sweet Delight


Teacher Appreciation Week starts today! I love this week because it is a great way to honor the wonderful teachers in Sophia & Kalista's lives.

We have been having fun prepping for this week. 
The girls have special treats for their mentors and can't wait to deliver them:
These were so easy to assemble! The amaz'on one is my fave. Here is the tutorial.
Candles make a great gift too! These simple printables make them even more special.

Today Sophia's school is having a dessert bar for all the teachers. I decided to make a sweet and salty treat and found this recipe for Salted Caramel Pretzel Crust Brownies:
These were easy to make and very yummy, I might add.
 If you are looking for that combination of sweet & salty,
well look no further!

Happy Teacher Appreciation Week!
Thank you for everything you do.

Tuesday, May 27, 2014

Blueberry Oatmeal Cookies - Revised


I decided to play around with a recipe for an oldie but goodie cookie I posted about a year ago. These cookies never last very long in our house. And I am hoping the 200+  Pinners have enjoyed these blueberry delights as much as we have!

Because the original recipe uses all brown sugar and rolled oats, they are super moist especially with the added moisture from the blueberries. I found these cookies would become softer throughout the day and definitely over night (if there were any left over). So I decided to tweak things a bit to see if they would hold up when time lapsed.


Ingredients:
One stick unsalted butter, softened
1/4 cup canola oil
1 1/2 cups light brown sugar, packed
1/2 cup sugar
2 large eggs
1 teaspoon vanilla
2 cups all-purpose flour
1 1/2 cups rolled oats
1 1/2 cups quick cooking steel cut oats
2 teaspoons baking soda
1/2 teaspoon salt
1 1/2 cups fresh blueberries

Directions:
Preheat oven to 350 F.

Beat butter, oil, and both sugars until creamy. Beat in eggs and vanilla.

In another bowl, combine flour, both oats, baking soda, and salt. Pour dry mixture into the wet ingredients a little at a time and mix until fully combined. Finally, add the blueberries and gently fold in. Place rounded spoonfuls on an ungreased baking sheet and bake for 12-14 minutes, until golden brown around the edges but still soft in the middle.

This makes about 3 dozen cookies.
printable recipe

Hope you love this new version as much as she did!

Wednesday, May 14, 2014

When Life Gives You Lemons . . .

Well more like, when a friend gives you lemons, make lemon loaves! My friend, Ronda, was so sweet to give us a bag of lemons from her overproducing tree. Lots of friends scored lemons since she advertised her willing to share on Facebook. So happy I got in on the action!

This is one of my all time fave recipes. Barefoot Contessa never disappoints!

Cake Ingredients:
2 sticks unsalted butter, at room temperature2 1/2 cups granulated sugar4 extra-large eggs, at room temperature1/3 cup grated lemon zest (6 to 8 large lemons)3 cups all-purpose flour1/2 teaspoon baking powder1/2 teaspoon baking soda1 teaspoon kosher salt3/4 cup freshly squeezed lemon juice3/4 cup buttermilk, at room temperature1 teaspoon pure vanilla extract


Glaze Ingredients:
2 cups confectioners’ sugar
3 1/2 tablespoons freshly squeezed lemon juice


1. Preheat the oven to 350°F (175°C). Grease two 8 1/2-by-4 1/2-by-2 1/2-inch loaf pans.
2. Cream the butter and 2 cups granulated sugar in the bowl of an electric mixer fitted with the paddle attachment, for about 5 minutes, or until light and fluffy. With the mixer on medium speed, add the eggs, one at a time, and the lemon zest.
3. Sift together the flour, baking powder, baking soda, and salt in a bowl. In another bowl, combine 1/4 cup lemon juice, the buttermilk, and vanilla. Add the flour and buttermilk mixtures alternately to the batter, beginning and ending with the flour. Divide the batter evenly between the pans, smooth the tops, and bake for 45 minutes to 1 hour, until a cake tester comes out clean.

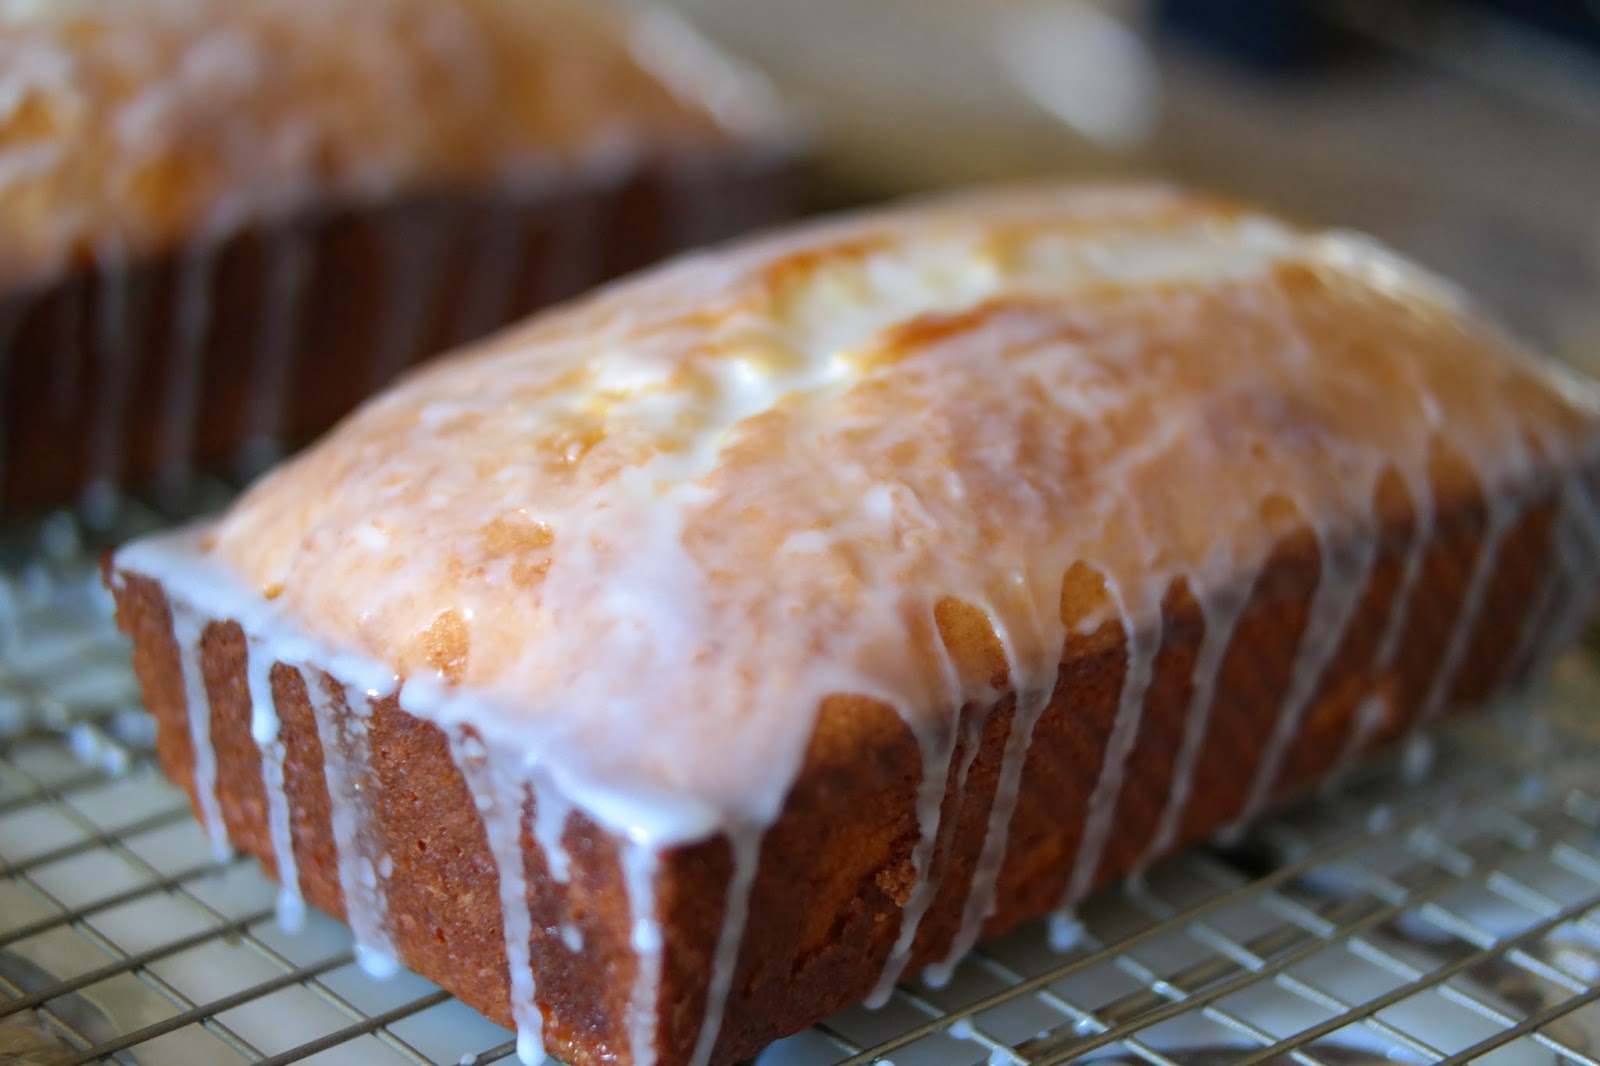
It's so hard not to open the oven door to take a peek. Love the smell too!

4. Combine 1/2 cup granulated sugar with 1/2 cup lemon juice in a small saucepan and cook over low heat until the sugar dissolves and makes a syrup. When the cakes are done, let them cool for 10 minutes, then invert them onto a rack set over a tray. Turn the cakes right-side up and spoon the lemon syrup generously over the mounded tops, allowing the syrup to dribble down the sides. Let the cakes sit to cool completely.

For the glaze:Combine the confectioners’ sugar and lemon juice in a bowl, mixing with a wire whisk until smooth. 

Get your drizzle on and pour over the top of the cakes. Allow the glaze to drizzle down the sides.

Don't be shy either! Get all those nooks and crannies! 

Are you loving these pics? This was a fun morning because not only did I get to bake
something YUMMY but I got the chance to play with my new toy. Win - win!

Monday, May 5, 2014

Sweet Treats - Homemade Payday Bars and Oatmeal Biscoff Cookies

Teacher Appreciation Week has kicked off at Sophia's school and what better way to start a Monday back to school than with a dessert bar! I signed up to make some sweetness for our wonderful teachers. So glad I found this recipe at Cookies & Cups.

Hello Payday Bars!

These were a total hit (at school and at home). Way too dangerous to have within my reach!
16 oz salted dry roasted peanuts
2 cups peanut butter chips
3 Tbsp butter
1 (14 oz) can sweetened condensed milk
1 (10.5 oz) bag mini marshmallows
1-2 tbsp flaked sea salt

Spray 9x13 pan with baking spray or grease with butter. Sprinkle 1/2 peanuts in the bottom of the pan, reserving the other half for later.

In a large microwave safe bowl, heat peanut butter chips and butter in 30 second increments on 50% power. Stirring after each until melted.
Pour in sweetened condensed milk and microwave on high power for 1 more minute. Stir until smooth and combined.
Fold in marshmallows to peanut butter mixture until evenly coated and then pour over your peanuts in the pan.
Press the remaining nuts into the marshmallow mixture. Sprinkle with flaked sea salt and chill for about an hour.
Cut into squares.
*Next time, I plan on changing things up a bit. I found the whole bag of marshmallows to be a bit a much. So I might add 1/2 to 3/4 or maybe even substitute marshmallow creme (hubby's idea). And I think adding some chocolate would be a fun choice too; perhaps to the bottom layer of nuts? Yes, I realize it wouldn't be a Payday bar anymore - oh well. I can call it a Baby Ruth. :)
Now onto dessert #2!
Oatmeal Biscoff Cookies


For those who have flown Delta, well you know what I am talking about when I say, "Biscoff cookies are totally awesome." And let me say, they are even better as an oatmeal cookie. And let me also tell you, the Biscoff spread is HEAVEN! It can be hard to find, but check this out:
This is some serious danger!
And crunchy too? It's great with apple slices.
Or just on a spoon. 


Adapted from Two Peas and Their Pod

Ingredients:
1 1/2 cups rolled oats
1/2 cup flour
1/2 teaspoon baking soda
1 teaspoon cinnamon
1/4 teaspoon salt
1 stick butter, room temperature
3/4 cup brown sugar
1/4 sugar
1/2 cup Cookie Butter (non-crunchy)
1 egg

Preheat oven to 350 F. 

Mix rolled oats, flour, baking soda, cinnamon, and salt in bowl and set aside. Beat butter, sugars, and cookie butter until smooth and creamy. Beat in egg and vanilla until smooth and creamy again. Add in dry ingredients and beat until blended. Chill for 30 minutes.

Scoop rounded tablespoon onto lined cookie sheet. Leave a couple of inches between each dough ball. Bake for 8 minutes or until golden and slightly firm on the edge. Cool for 5 minutes and transfer to wire rack.

Wednesday, July 24, 2013

Blueberry Oatmeal Cookies

** I have updated this recipe since this post. 
Click here to check out the newer and improved version!
But please stick around and read this original post too; the models are pretty darn cute!**

A few days ago, I was craving an oatmeal cookie. But I didn't want the usual with chocolate chips or raisins. I stumbled upon this recipe at Hostess with the Mostess. These cookies are so delish! I've made them twice in the last week. Crisp on the outside and chewy on the inside. Brown sugar is very moist, so next time I might substitute part of the brown sugar for granulated sugar to give this cookie more of a crisp texture throughout.


BLUEBERRY OATMEAL COOKIES
(originally discovered at Dinner with Julie and doubled below)

Ingredients:
– 1/2 cup butter, softened
– 1/2 cup canola oil
– 
2 cups packed brown sugar
– 2 large eggs
– 1 tsp vanilla
– 2 cups all-purpose flour
– 3 cups cups old-fashioned oats
– 
2 tsp baking soda
– 
1/2 tsp salt
– 2 cups (or so) fresh blueberries
Directions:
Preheat the oven to 350°F.
Beat the butter, oil and brown sugar until creamy; beat in the egg and vanilla.
In a separate bowl, combine flour, oats, baking soda and salt, then pour this dry mixture into the wet ingredients, a little at a time until fully combined. Finally, add the blueberries and mix well. Drop large spoonfuls on an ungreased baking sheet and bake for 12 to 15 minutes, until golden brown around the edges but still soft in the middle.
Makes about 2.5 dozen cookies. 

Saturday, March 23, 2013

Easter Cupcakes

We are getting ready to head on over to our friend's house for a little pre-Easter egg hunt. I thought it would be super cute to make something sweet for the kids, oh and the adults : )


Can't take credit for the idea . . . saw it on Pinterest of course. I made lemon cupcakes using the Barefoot Contessa's Lemon Cake recipe minus the glaze. And I went with my go-to buttercream frosting from Magnolia Bakery with Wilton Leaf Green for the grassy color. To make the grass you will need Wilton tip #233. Pastel M&Ms make cute for  "eggs".

This was a fun night time creation and a good forearm workout! Who knew piping grass could be exercise? : )


Monday, December 31, 2012

Twinkie Cupcakes

Here we are. My last post of 2012. Although I am not a food blogger, I still like to post recipes and it's been awhile since I've posted one. So I thought I would share these luscious treats that will be accompanying me to a New York New Year's Eve Party (aka everyone at this party has kids - so midnight is not an option).

Seems fitting to say farewell to 2012 with a tribute to Hostess, right? Even though I haven't purchased the infamous Twinkies in a very long time . . . shhh, I admit that I was a big fan when I was younger. That is when my mom would give in and buy a box. : )

Can you really go wrong with marshmallow fluff? I think not!
The best part of the Twinkie! The cream filling.
My added touch with a fancy rose swirl.
Thank you Pinterest and thank you The Domestic Rebel! I will for sure be running a few miles tomorrow.

Happy New Year to all of my family and friends!

Friday, April 27, 2012

Chocolate Cupcakes with Marshmallow Buttercream Frosting

I just made these for my daughter's school carnival bake sale:
The carnival theme is Under the Sea - which is why I just had to add the Swedish Fish.
Wouldn't you buy one? Or two? : )

Chocolate Cupcakes: (Barefoot Contessa)

Marshmallow Buttercream Frosting: (How Sweet It Is)
Kitchen Notes from Jenn:
I used unsalted butter at room temperature
I used a whole 7 ounce jar of Marshmallow Creme
I added 1 tablespoon of milk to thin out my frosting

Monday, January 9, 2012

Mini Oreo Cookies & Cream Orange Cheesecakes


My hubby is not a huge cheesecake fan. Therefore I never make it. Because let's face it . . . I would hate knowing I ate a whole cheesecake by myself! I mean just the thought of it makes me feel guilty and in a need of at least a 6 mile run. And even though I wanted to make a cheesecake for one of the Junior League meetings I chair, a whole cheesecake for 7 gals would still leave me with too much "temptation leftovers."

So why not make minis? My inspiration came from my friend Marina's blog, Yummy Mummy. And the recipe is adapted from Martha Stewart. Gotta give credit where credit is due! : )

Very important ingredient. DO NOT SKIP!
Find yourself a cute helper : )

The rest of the ingredients:
1 pound cream cheese, softened
1/2 cup sugar
1/2 teaspoon vanilla extract
2 large eggs, lightly beaten
1/2 cup sour cream
pinch of salt
18 Oreos, left whole
8 Oreos, crushed
Zest of one orange

Line standard muffin tins with 18 paper liners. Place an Oreo in each liner. Preheat oven to 275 F.

Beat cream cheese on medium speed until smooth. Add 1/2 cup sugar, then vanilla. With mixer running, add eggs slowly, scrape down the sides of the bowl. Add sour cream and salt. Fold in crushed cookies and orange zest.


Pour batter into muffin cups, filling almost to the top. Bake until sides are set but centers are wobbly, about 20 minutes. 

Let cool in tins on wire racks. Wrap tins tightly with plastic, and refrigerate 4 hours or overnight.

Tuesday, December 6, 2011

Homemade Almond Roca

Don't you just love holiday treats? Especially when they are concealed in cute packaging? Like this:


At Thanksgiving, my sister-in-law gave us the most addictive Holiday treat . . . Almond Roca. And if David hadn't seen that tin of oh-so-yummy-goodness I would have kept it all to myself. Seriously. I swear.

It didn't take long for us to polish off every morsel. Then. I. Got. Desperate. Let's just say that tin can of English Toffee from Trader Joe's didn't do the trick. I also got lazy because I couldn't even manage to take a picture of my shameful evidence in the kitchen. Google is pretty handy. : )

Picture from Love from the Oven

So then I got unlazy, yes unlazy. Got the recipe from my sister-in-law (via brother-in-law) and made my own. And it was so worth it!

Yes, I know these are pecans and not almonds. I goofed while at the store. 
It's not easy shopping with a 4 year old and 2 year old. Seriously. Try it. I dare you. ; )
But I promise you, no matter the nut it is tasty!

I'm not sure how much actually made it into the treat boxes.
It's that good!

The perfect holiday indulgence!

Almond Roca Recipe:
2 sticks unsalted butter
1 cup sugar
3 tablespoons water
1 teaspoon light corn syrup
1 cup coarsely chopped toasted almonds (or any other toasted nut of your desire)
8 ounces milk chocolate
Rimmed baking sheet
Candy thermometer

Melt butter then add the sugar, water and corn syrup. Cook over medium heat and stir. 
When the sugar dissolves raise the heat to medium-high and cook until candy thermometer reads 290 F.
Take off the heat and stir in 1/2 of the almonds.
Pour onto lightly greased 9x13 rimmed baking sheet. (I greased my sheet with the butter wrapper)
Wait 2-3 minutes and sprinkle chocolate over the mixture.
Wait 5 minutes and spread chocolate and sprinkle with remaining almonds.
Let cool and break into pieces.

Side Note:
I actually melted my chocolate in a double broiler then poured/spread it over the candy mixture. Either way, just make sure you wait before spreading so the chocolate doesn't mix with the toffee.