Showing posts with label Projects. Show all posts

Monday, May 4, 2015

Teacher Appreciation Week & A Salty Sweet Delight


Teacher Appreciation Week starts today! I love this week because it is a great way to honor the wonderful teachers in Sophia & Kalista's lives.

We have been having fun prepping for this week. 
The girls have special treats for their mentors and can't wait to deliver them:
These were so easy to assemble! The amaz'on one is my fave. Here is the tutorial.
Candles make a great gift too! These simple printables make them even more special.

Today Sophia's school is having a dessert bar for all the teachers. I decided to make a sweet and salty treat and found this recipe for Salted Caramel Pretzel Crust Brownies:
These were easy to make and very yummy, I might add.
 If you are looking for that combination of sweet & salty,
well look no further!

Happy Teacher Appreciation Week!
Thank you for everything you do.

Tuesday, April 15, 2014

TEA-cher Appreciation

Kalista and I were out the other day and I saw these cute mugs at Anthropologie:
These monogrammed beauties were the perfect discovery to help show 
our appreciation for the wonderful TEA-chers in our lives.

Starting to make sense?

So cute, right?
So don't forget . . . May 6th! 
Let the teachers in your life and/or your children's lives know how much you appreciate all they do!

Monday, December 16, 2013

Snowman Craft Ornament

My fellow room mom and friend, Dani, and I are hoping to make some kindergarteners excited at their Winter Holiday party.

Isn't he cute?!

Dani found this project online and it is so easy to assemble for the kids. Well it would have been easier if I didn't have to spray paint the popsicle sticks white. Well, okay, it is a little time consuming with having to cut out the felt hats (thank you Darling Hubby for cutting these out!). Thank goodness the scarves were a breeze to cut and fringe. That was my job. ; ) Hey, but I also made the sample guy pictured above! And assembled 20 plus baggies with the necessities! Oh wait! Poking the little hole in the felt hats and threading the gold string was very tedious too! That was my job too. Alright, let's face it the felt hats were definitely the hardest. lol

The picture is pretty self-explanatory with the items you will need:
White popsicle sticks
Googly eyes
Assorted black buttons (we used different sizes but you don't have to and you can easily use colored ones too)
Orange, black, and red felt
Glue
Black Sharpie (for the mouth)
String or ribbon

Sunday, October 6, 2013

Chalkboard Paint and DIY Pumpkin Place Cards

I love fall. Even though Santa Barbara doesn't really capture the picturesque scenes of fall, 
I still enjoy this time of year.

There has been some pumpkin fun going on in our house. And although the girls have had their share in colorful pumpkin painting, I have taken over with chalkboard paint! TOTALLY OBSESSED!

After having fun with the pumpkins above, I decided to continue with some small white pumpkins. 

And, so here you have it: DIY place cards. 
Perfect for a fall table setting and/or labeling food items at your next party.

So easy to do and very inexpensive. Pictures are pretty self explanatory for what you need:
Pumpkins
Acrylic chalkboard paint
Sponge or brush
Chalk and/or chalk marker

*I did 3 coats on the large pumpkins and 2 on the smaller ones.
**Chalk markers are great! They come in different colors and are easier to write with on not so flat surfaces (like pumpkins). And best of all, no accidental erasing when touched! A damp cloth or paper towel will erase your message. If you end up using plain chalk, just make sure the tip is rounded off and not sharp. The paint can peel if you write to hard or use a sharp corner. I found it easier to just lightly sketch each letter then lightly go back over each letter until you get the desired thickness.


Tuesday, July 23, 2013

The Best Hubby & Veggies Galore

A few months ago, I mentioned to Darling Hubby how I really wanted a raised vegetable garden. I didn't request anything specific, just something to keep the critters out and the veggies flowing. I would have been totally fine with a prebuilt box. Darling Hubby had something else in mind . . .
The very beginning:
 His outlined vision:
His backbreaking project:

OMG! A 5ft by 9ft garden?! Give a man some tools and a lot can happen. Luckily our friend Erik had everything David needed. And Erik was kind enough to help out on the first box. And because one wasn't enough, David built another "smaller" one just above this monstrosity. The depth on both of these is insane too. Part of our property is on a hillside, so this made for a time consuming project. Not to mention a costly one with having the soil hauled in and placed.

I feel like it took longer than most to get our veggie garden looking prosperous. Not sure if the soil was amended too much or too little or bad seeds or not enough water or too much water (thank goodness for drip lines), etc. But nonetheless, here we are:
We have a lot going on in our boxes. Pictured above: English cucumber, squash, tomatoes, basil, mint, bok choy, and peppers. We also have asparagus, carrots, onions, snap peas, parsley, oregano, and the list goes on.

Looking forward to creating fresh and healthy meals with our bounty. Thank you Darling Hubby. I love you.

Tuesday, April 30, 2013

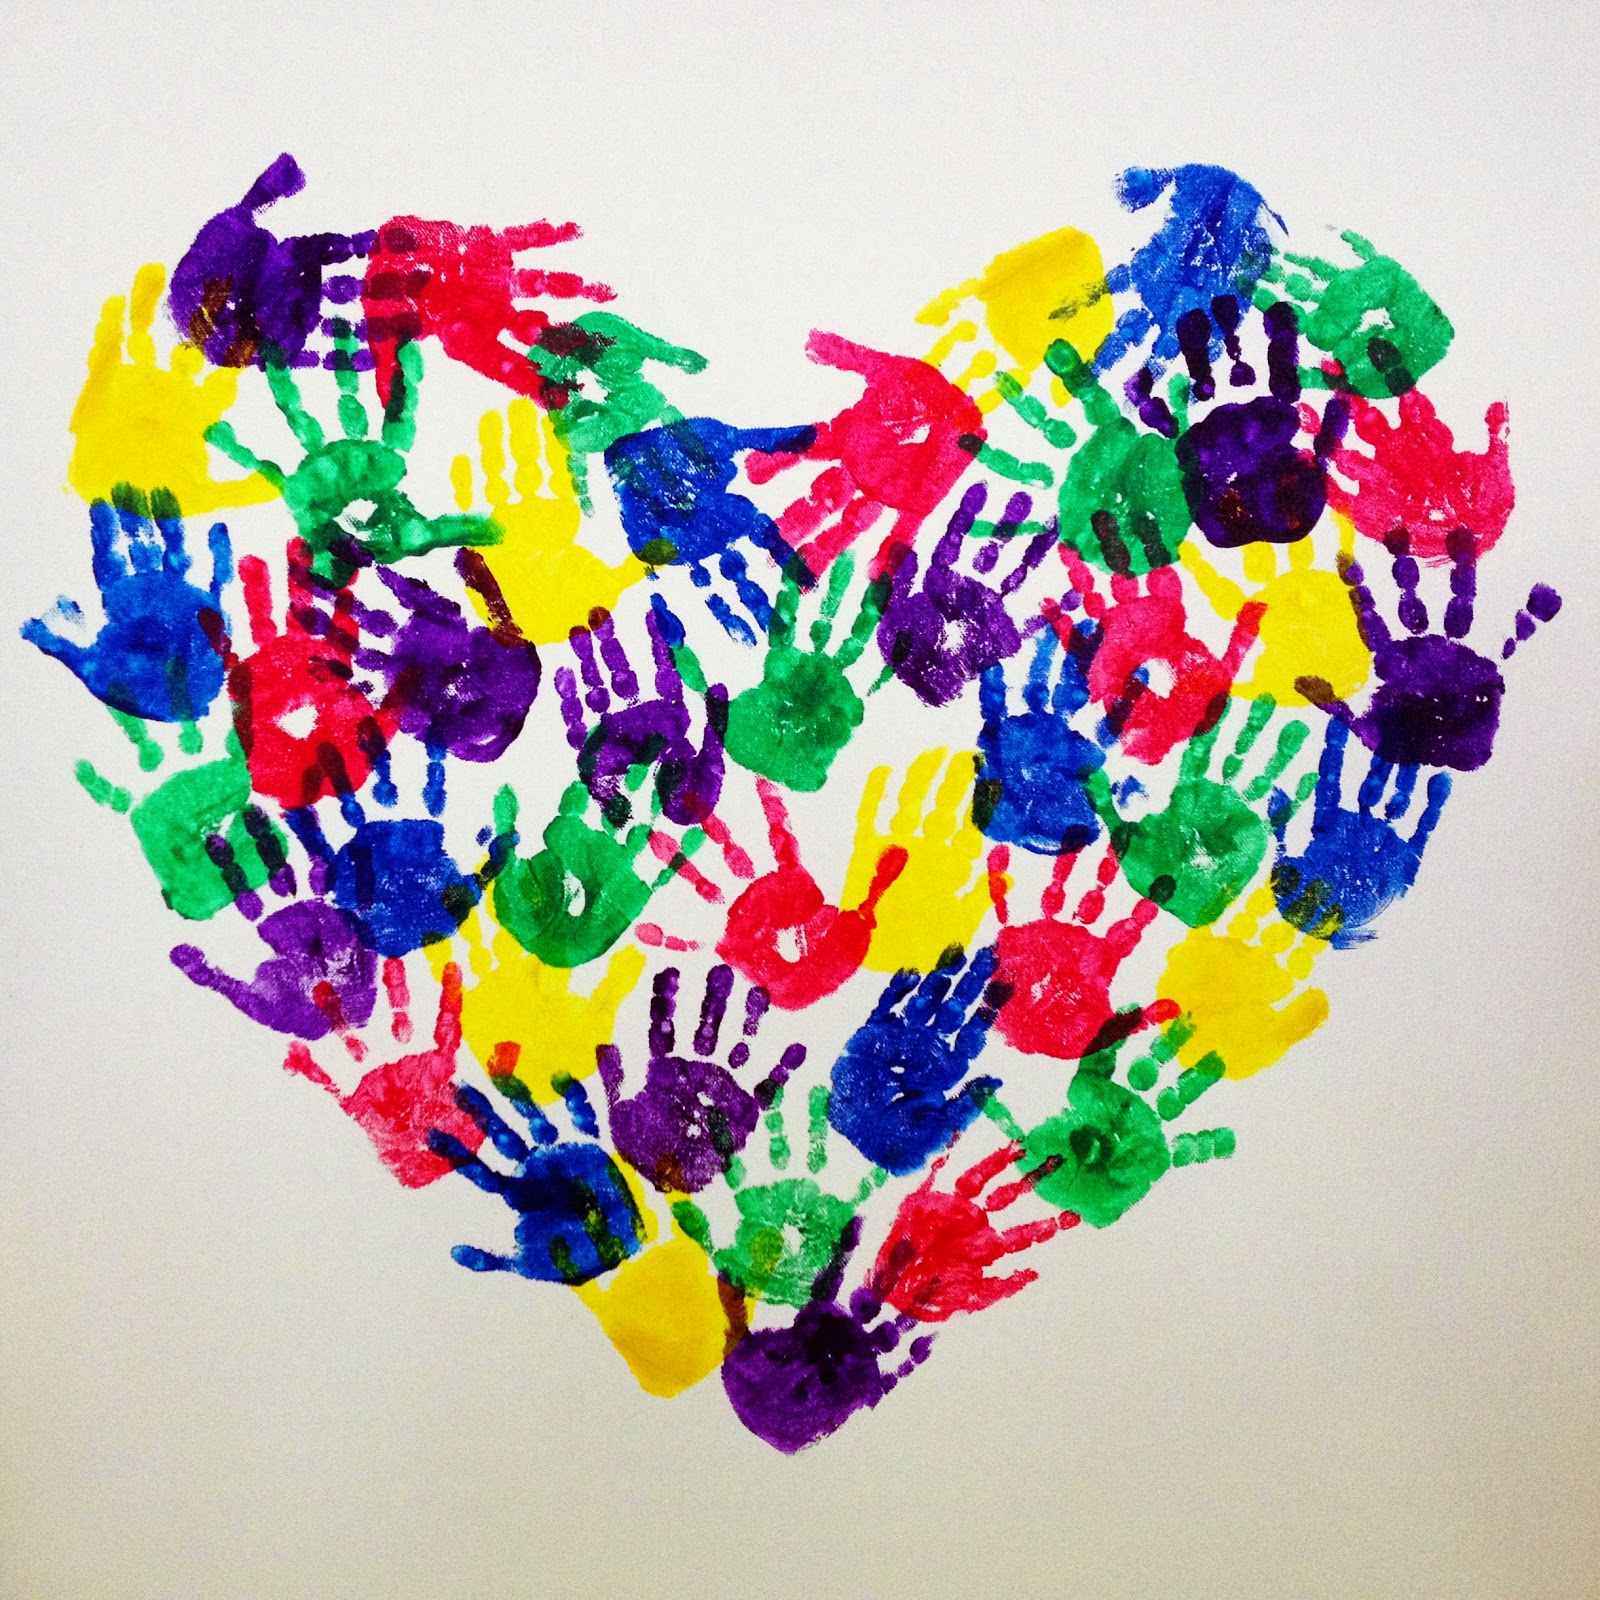
Handprints From The Heart

I found this idea on Pinterest and thought it was the perfect art project for the silent auction portion of Kalista's school carnival. I chose a 30" by 30" wrap around canvas and with the help of my friend, Laurie, the teachers, and the kids we made this beautiful masterpiece.

Handprints From The Heart
Created by the loving hands of 
Little Angels Preschool
Ladybug Class
2012-2013

Friday, February 8, 2013

Salt Dough Hearts - A Valentine's DIY


This will be Kalista's first time handing out Valentines to friends at school. With Valentine's Day right around the corner, I thought it would be fun to make her first time super special. And since the school is asking us not to bring candy, this project is perfect.

Like all projects, you need inspiration! My inspiration came from my love for Modge Podge and my sweet friend, Marina, over at Yummy Mummy Kitchen. Did you know she has a book coming out in April? You can pre-order on Amazon!

What you need:
2 cups of flour
1 cup table salt
3/4 cup water

Preheat oven to 200 F. Mix together in a bowl and then knead like you would dough. You may need to add more water or flour depending on the texture. You want the dough nice and smooth. Roll dough out on floured surface and cut out shapes with cookie cutters. Place on baking pan and bake for 20 minutes; flip once after 10 minutes. Let cool.


*I baked mine for about 30 minutes. I rolled my dough out a little thicker than usual because I wanted to make sure my fluted heart edges would show nicely.


Grab your Modge Podge, glitter, and any kid who is willing to make your kitchen look like a glitter war zone and let 'em have at it. Pour yourself a glass of wine too. ; )

 Happy Valentine's Day!

Wednesday, October 5, 2011

DIY Coasters

I am still fascinated with Pinterest. I especially love how I can "pin" all the DIY projects for future references. Wish I had more time to follow through with more of the projects. Someday : )

This is my latest creation courtesy of Pinterest via one of my DIY, Gifts & Party Favors  boards. Coasters. Not the beer - just for clarification : )

Here is all you need:

The steps:

  1. Cut scrapbook paper to just less than 4x4. This way you don't have any overhang when pasting.
  2. Brush Mod Podge onto clean tiles. I wiped my tiles clean with rubbing alcohol.
  3. Carefully align your cut paper onto tile. Press firmly working your way from the center outward. I suggest using some type of small flat edge scraper, like you would use for all wall papering, to help smooth out the paper. But it's not necessary.
  4. Brush a light layer of Mod Podge onto the decorated tile. You can use as many coats as you like but just make sure you wait about 15-20 minutes between each coat. I used 2 coats.
  5. After tiles have dried, spray paint with a clear coat.
  6. Apply felt to bottom. You can also use cork.
  7. Pour a drink and place on top : )
A great gift idea!

DIY projects are fun! Looking forward to turning Kalista's crib into this:
Photo from Ohdeedoh

Wednesday, September 21, 2011

Time to Decorate

When Fall rolls around it feels like time flies by even faster. I decided to decorate before October actually hit so the kids could enjoy a little bit of Halloween in the house before I start with the whole pumpkin/gourd/acorn/twig/well you get the picture decor.

I put this on the doorway up to the girls' room.
Now Kalista is a little weary to walk through.

I took the candy corn/candle idea from one of my Pinterest boards.
Then today, I added the stacked pumpkins - idea I stole from my friend, Yummy Mummy.

Looking forward to decorating for Christmas!

Saturday, September 10, 2011

Easy Hair Accessory

I was at the club the other day and saw a mom making these cute ponytail holders for her daughter. Well, I'm about easy! Not to mention it is so inexpensive : )

Cute ribbon and a hair tie
Add some knots
Instant ponytail holder worthy of a fashion opinionated 4 year old girl.

Friday, June 24, 2011

A Gift from the Bumble Bees

This week I received an unexpected surprise from Sophia's class, The Bumble Bees. It was such a heart-felt thank you for participating as Room Mom. I had a wonderful experience as a first-time Room Mom and I can't wait to do it again! That's right...I've already signed-up for Sophia's Pre-K class, The Butterflies. In fact, I let our director know she could just recruit me for the next 4 years. I mean, what kind of mom would I be if I missed out on Kalista's preschool years. ; )

Beautiful orchid along with a class project flower card.
Cute thumbprints turned into bumble bees from each student
and teacher in Sophia's class.
and the cutest thumbprint bee of all!

Friday, May 13, 2011

Mother's Day - One More Time

I had the pleasure of celebrating Mother's Day one more time. Since we were in Maui the week prior Sophia didn't have the opportunity to give me her special Mother's Day project she had created in school. I must admit, I teared up a bit when she handed me her work of art. Such detail went into this project. I will cherish it forever!
Sophia painted this canvas and then it was stretched over
a wooden frame. I can't wait to hang it up!
Cute message written with tiny stones.
A fill in the blank message...I love these because you never
know what your child is going to say!
All About My Mommy
My Mommy is 4 years old.
Her hair is brown and her eyes are brown.
Her favorite thing to wear is dresses.
She loves to cook fish.
Her favorite TV show is the news.
When she shops, she likes to buy fish and veggies.
If she could go on a trip anywhere SHE wanted, she would go to Grandma's/Grandpa's house.
My Mommy always tells me "Go to sleep!"
The most beautiful flower in the world.

Thursday, April 14, 2011

Ch-ch-ch-ch Chia

I love how Sophia and the rest of her Bumble Bee pals have been busy gardening/planting. The weather has been just perfect for tapping into her green thumb skills.
Nothing like a homemade Chia Pet!
Looking forward to the green beans she planted.

Sunday, April 10, 2011

Preschool Carnival

Saturday was Sophia's annual Spring Carnival for her school. The day was jam-packed with pony rides, games/prizes, a petting zoo, bounce houses and fun, fun, fun!

One of the auction items was something 
the room moms worked on with the kids.
Sophia was excited to have me working in her class.
 The finished product along with a lemon tree.
The bumble bee bodies are the thumbprints 
of each student in Sophia's class.